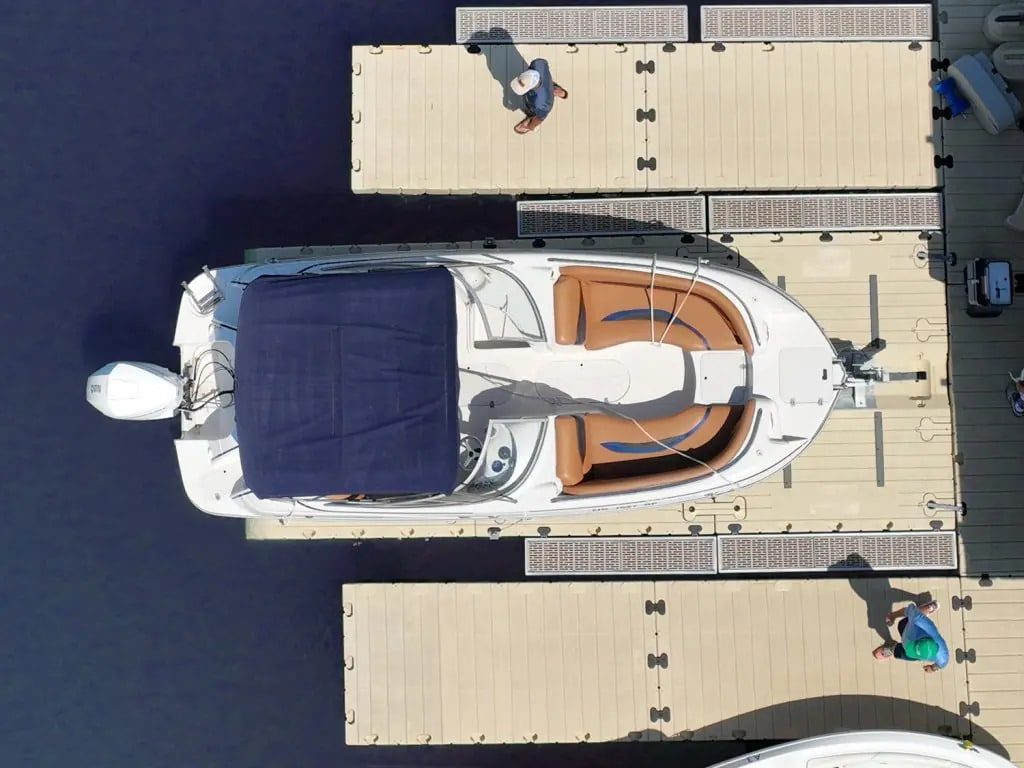
Drive-on docks are a popular choice for waterfront properties, offering convenient access for boats and watercraft.
Whether you’re a seasoned dock installer or a property owner looking to enhance your waterfront experience, understanding the key considerations and steps for drive-on dock installation is crucial.
In this blog, we’ll explore the essential factors to keep in mind and guide you through installing a drive-on dock.
Choosing the Right Drive-On Dock System
Before diving into the installation process, choosing the right drive-on dock system for your specific needs is essential. There are a few factors to consider.
Weight Capacity
Ensure that the drive-on dock system can support the weight of your watercraft. Different systems have varying weight capacities, so choose one that aligns with the size and weight of your boat.
Material
Drive-on docks come in various materials, including polyethylene, aluminum, and concrete. Each material has its own advantages and considerations, such as durability, maintenance requirements, and environmental impact.
Modularity
Opt for a modular drive-on dock system if you anticipate the need for future expansion or customization. Modular systems offer flexibility and ease of adjustment.
Watercraft Compatibility
Consider the specific type and size of watercraft you own. The drive-on dock system should be compatible with your boat’s hull shape and dimensions, ensuring a secure and snug fit during loading and unloading.
Installation Steps
Now, let’s break down the installation process into steps.
Site Assessment
Survey the waterfront area to determine the best location for the drive-on dock. Keep in mind factors like water depth, shoreline conditions, and accessibility.
Permitting
Check local regulations and acquire the necessary permits for dock installation. Ensure you comply with environmental guidelines to minimize the impact on the ecosystem.
Preparing the Area
Clear the installation site of any debris, rocks, or obstacles. You might want to level the ground and create a stable foundation for the drive-on dock.
Anchoring
Determine the appropriate anchoring system based on water conditions. It’s a good idea to install anchors securely to ensure the stability of the drive-on dock.
Assembly of Components
Follow the manufacturer’s instructions for assembling the drive-on dock components. Connect sections securely, paying attention to the alignment and integrity of the structure.
Drive-On Dock Installation
Carefully position the drive-on dock on the water. Ensure the dock is level and secure before driving your watercraft onto it.
Safety Measures
Install safety features such as handrails, cleats, and non-slip surfaces to enhance user safety. Clearly mark the edges of the dock for visibility, especially in low-light conditions.
Post-Installation Inspection
Conduct a thorough inspection of the installed drive-on dock. Address any issues promptly and ensure that all components are functioning correctly.
Final Thoughts
Drive-on dock installation can significantly enhance your waterfront experience, providing convenient and secure access for your watercraft. You can ensure a smooth and successful installation process by carefully considering factors such as dock system selection, site preparation, and safety measures.
Always follow manufacturer guidelines and local regulations to create a durable and environmentally responsible waterfront solution.
Nor Col EZ Dock is committed to providing eco-friendly solutions with our EZ Dock systems. If you want to learn more about our environmentally conscious options, please contact us at (800) 654-8168.


